Remote access to your Raspberry Pi can revolutionize how you manage and interact with your projects, whether for home automation, server hosting, or IoT applications. With the right setup, you can access your Raspberry Pi from anywhere in the world, giving you unparalleled flexibility and convenience. This guide will walk you through the steps to establish a secure and efficient remote connection, ensuring your device remains accessible and protected.
As remote work and distributed systems become increasingly common, the ability to control devices remotely is no longer just a convenience but a necessity. Raspberry Pi, with its versatility and affordability, has become a popular choice for setting up remote access solutions. By following this step-by-step guide, you'll learn how to configure your Raspberry Pi for remote access securely.
Whether you're a beginner or an advanced user, understanding how to establish remote access with Raspberry Pi is a valuable skill. In this article, we'll explore various methods, tools, and best practices to ensure your setup is both functional and secure. Let's dive in!
Read also:Sarfira Review An Indepth Analysis Of Sarfiras Features Benefits And Performance
Table of Contents
- Introduction to Remote Access with Raspberry Pi
- Understanding Raspberry Pi Basics
- Methods to Establish Remote Access
- Setting Up SSH for Remote Access
- Configuring VNC for Remote Desktop Access
- Network Configuration for Remote Access
- Securing Your Remote Connection
- Common Issues and Troubleshooting
- Recommended Tools and Software
- Best Practices for Remote Access
- Conclusion
Introduction to Remote Access with Raspberry Pi
Remote access allows you to control your Raspberry Pi from another computer or device, regardless of location. This capability is essential for managing servers, monitoring IoT devices, or troubleshooting systems without physical access. By setting up remote access, you can perform tasks such as file transfers, software updates, and configuration changes from anywhere.
Why Choose Raspberry Pi for Remote Access?
Raspberry Pi offers a cost-effective and flexible platform for remote access solutions. Its compact size, low power consumption, and extensive community support make it ideal for projects requiring remote connectivity. Additionally, its compatibility with various operating systems and software tools ensures seamless integration into existing networks.
Understanding Raspberry Pi Basics
Before diving into remote access configurations, it's essential to understand the basics of Raspberry Pi. This section covers key aspects such as hardware components, operating systems, and networking fundamentals.
Key Components of Raspberry Pi
- Processor: ARM-based processor optimized for low power consumption.
- RAM: Available in various capacities depending on the model.
- Storage: Uses microSD cards for storage, making it easy to update and replace.
- Connectivity: Built-in Wi-Fi and Ethernet for network connectivity.
Methods to Establish Remote Access
There are several methods to establish remote access with Raspberry Pi. Each method has its own advantages and is suited to different use cases. Below are the most common approaches:
1. SSH (Secure Shell)
SSH is a secure protocol for remote command-line access. It encrypts data transmission, ensuring secure communication between devices.
2. VNC (Virtual Network Computing)
VNC provides graphical remote access, allowing you to control the Raspberry Pi's desktop environment from another computer.
Read also:Exploring The Fascinating World Of 10 Atmospheres A Comprehensive Guide
3. Web-Based Interfaces
Some applications and services offer web-based interfaces for remote access, eliminating the need for additional software on the client side.
Setting Up SSH for Remote Access
SSH is one of the most popular methods for remote access due to its simplicity and security. Follow these steps to enable SSH on your Raspberry Pi:
Enabling SSH on Raspberry Pi
- Boot your Raspberry Pi and log in to the terminal.
- Run the command
sudo raspi-config. - Navigate to "Interfacing Options" and select "SSH".
- Choose "Yes" to enable SSH and reboot your Raspberry Pi.
Connecting to Raspberry Pi via SSH
Once SSH is enabled, you can connect to your Raspberry Pi using an SSH client such as PuTTY (Windows) or Terminal (Mac/Linux). Use the following command:
ssh pi@Configuring VNC for Remote Desktop Access
VNC allows you to access the graphical desktop of your Raspberry Pi remotely. Here's how to set it up:
Installing VNC Server
- Open the terminal on your Raspberry Pi.
- Run the command
sudo apt updateandsudo apt install realvnc-vnc-server realvnc-vnc-viewer. - Reboot your Raspberry Pi to apply the changes.
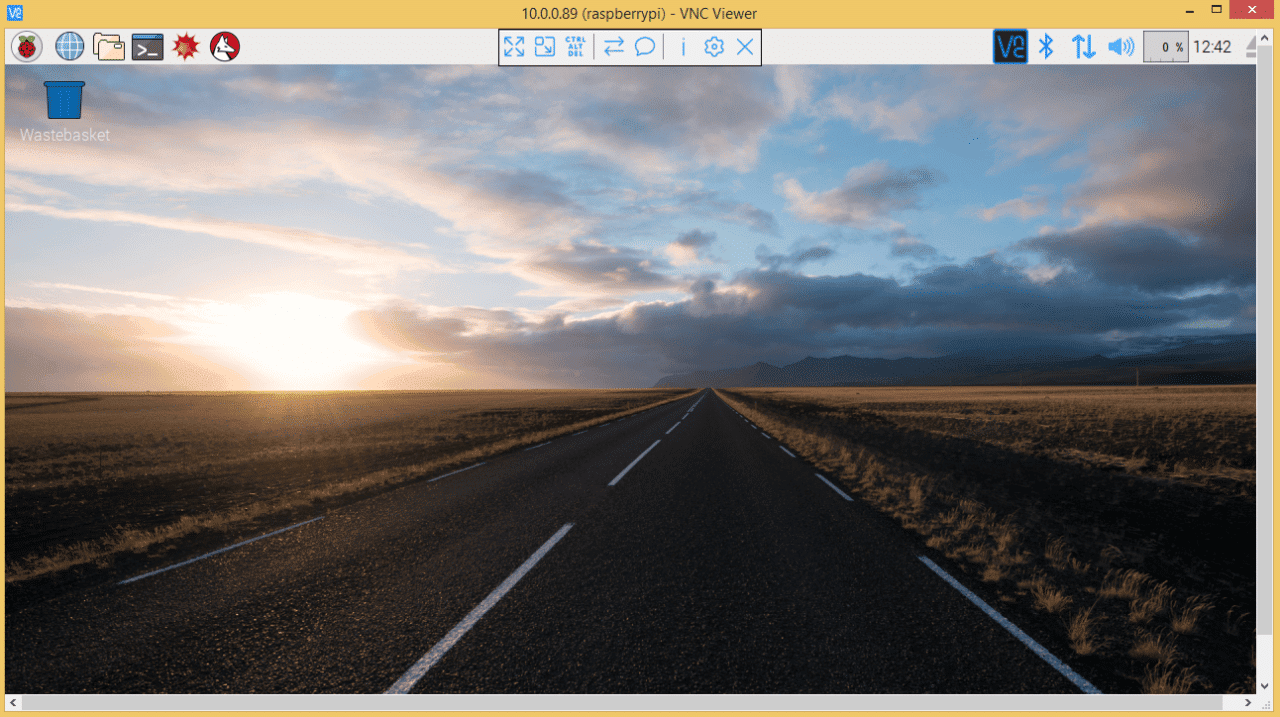
Connecting to Raspberry Pi via VNC
Download the VNC Viewer application on your client device and enter the IP address of your Raspberry Pi to establish a connection.
Network Configuration for Remote Access
Proper network configuration is crucial for successful remote access. This section covers essential network settings and considerations.
Assigning a Static IP Address
A static IP address ensures that your Raspberry Pi's IP does not change, making it easier to connect remotely. To assign a static IP:
- Open the
/etc/dhcpcd.conffile using a text editor. - Add the following lines, replacing
your-ip-address,router-ip-address, andsubnet-maskwith your network details:
 interface eth0
 static ip_address=your-ip-address
 static routers=router-ip-address
 static domain_name_servers=router-ip-address
Securing Your Remote Connection
Security should always be a top priority when setting up remote access. Follow these best practices to protect your Raspberry Pi:
1. Use Strong Passwords
Ensure that your Raspberry Pi's login credentials are strong and unique to prevent unauthorized access.
2. Enable Two-Factor Authentication
Two-factor authentication adds an extra layer of security by requiring a second form of verification during login.
3. Regularly Update Software
Keep your Raspberry Pi's operating system and applications up to date to patch security vulnerabilities.
Common Issues and Troubleshooting
Despite careful setup, issues may arise when establishing remote access. Here are some common problems and solutions:
1. Unable to Connect via SSH
Ensure that SSH is enabled and check your Raspberry Pi's IP address. Verify that the firewall allows SSH traffic on port 22.
2. VNC Connection Fails
Confirm that the VNC server is running and that the client device has the correct IP address and credentials.
Recommended Tools and Software
Several tools can enhance your remote access experience with Raspberry Pi:
- Putty: A popular SSH client for Windows users.
- VNC Viewer: A reliable VNC client for graphical remote access.
- NGROK: A tool for creating secure tunnels to expose local servers to the internet.
Best Practices for Remote Access
Adopting best practices ensures a smooth and secure remote access experience:
1. Regular Backups
Backup your Raspberry Pi's data regularly to prevent data loss in case of hardware failure or security breaches.
2. Monitor Network Activity
Keep an eye on network activity to detect and respond to suspicious behavior promptly.
Conclusion
Establishing remote access with Raspberry Pi opens up a world of possibilities for managing and interacting with your projects. By following the steps outlined in this guide, you can set up a secure and efficient remote connection tailored to your needs. Remember to prioritize security and adopt best practices to protect your device and data.
We encourage you to share your experience and insights in the comments below. For more articles on Raspberry Pi and related topics, explore our website and stay updated with the latest trends and technologies.