SSH (Secure Shell) is a powerful tool that allows users to securely connect to remote devices and manage IoT systems from their Mac computers without any cost. If you're looking to leverage SSH for remote IoT management on your Mac, this guide will walk you through every step of the process. Whether you're a beginner or an experienced user, this article will provide all the information you need to get started.
SSH has become a staple in the world of networking and remote management. It enables secure communication between devices over unsecured networks, making it an essential tool for IoT enthusiasts and professionals alike. By using SSH, you can remotely access and control IoT devices directly from your Mac, all for free.
In this article, we'll explore how to set up SSH for remote IoT management on your Mac. From understanding the basics of SSH to configuring your system and troubleshooting common issues, we'll cover everything you need to know. Let's dive in and unlock the potential of SSH for your IoT projects.
Read also:Jon Hamm Net Worth 2024 A Comprehensive Look At The Actors Financial Empire
Table of Contents
- What is SSH?
- Why Use SSH for Remote IoT?
- Setting Up SSH on Mac
- Connecting to Remote IoT Devices
- Configuring SSH Settings
- Securing Your SSH Connection
- Troubleshooting Common Issues
- Alternative SSH Clients
- Advanced SSH Features
- Conclusion and Next Steps
What is SSH?
SSH, or Secure Shell, is a network protocol designed to provide secure communication between devices over unsecured networks. It encrypts data transmitted between systems, ensuring that sensitive information remains protected. SSH is widely used for remote access, file transfers, and administrative tasks.
When it comes to IoT (Internet of Things), SSH plays a crucial role in enabling users to remotely manage and monitor devices. By leveraging SSH, you can securely connect to IoT devices and perform various operations, such as configuration updates, data retrieval, and troubleshooting.
Key Benefits of SSH:
- Encryption for secure communication
- Authentication mechanisms to ensure authorized access
- Support for various commands and scripts
Why Use SSH for Remote IoT?
Using SSH for remote IoT management offers several advantages. First and foremost, it ensures secure communication between your Mac and IoT devices. Unlike other protocols, SSH encrypts all data exchanged, making it resistant to eavesdropping and tampering.
Another benefit of SSH is its simplicity and ease of use. Once set up, you can quickly connect to remote devices and execute commands without requiring complex configurations. Additionally, SSH is widely supported across various operating systems, including macOS, Linux, and Windows, making it a versatile choice for IoT projects.
Top Reasons to Use SSH for Remote IoT:
Read also:How Tall Is Michael Clarke Duncan A Comprehensive Guide
- Secure and encrypted connections
- Easy to set up and use
- Compatible with multiple operating systems
Setting Up SSH on Mac
Enabling SSH on macOS
Before you can use SSH on your Mac, you need to enable the SSH service. Follow these steps to activate SSH on your macOS system:
- Open System Preferences on your Mac.
- Click on "Sharing" and navigate to the "Remote Login" section.
- Check the box next to "Remote Login" to enable SSH.
Once enabled, your Mac will be ready to accept SSH connections. You can verify the status of the SSH service by opening the Terminal and typing the following command:
sudo systemsetup -getremotelogin
Installing SSH Clients
While macOS comes with a built-in SSH client, you may want to explore alternative options for enhanced functionality. Popular SSH clients for Mac include:
- Terminal (default client)
- Termius
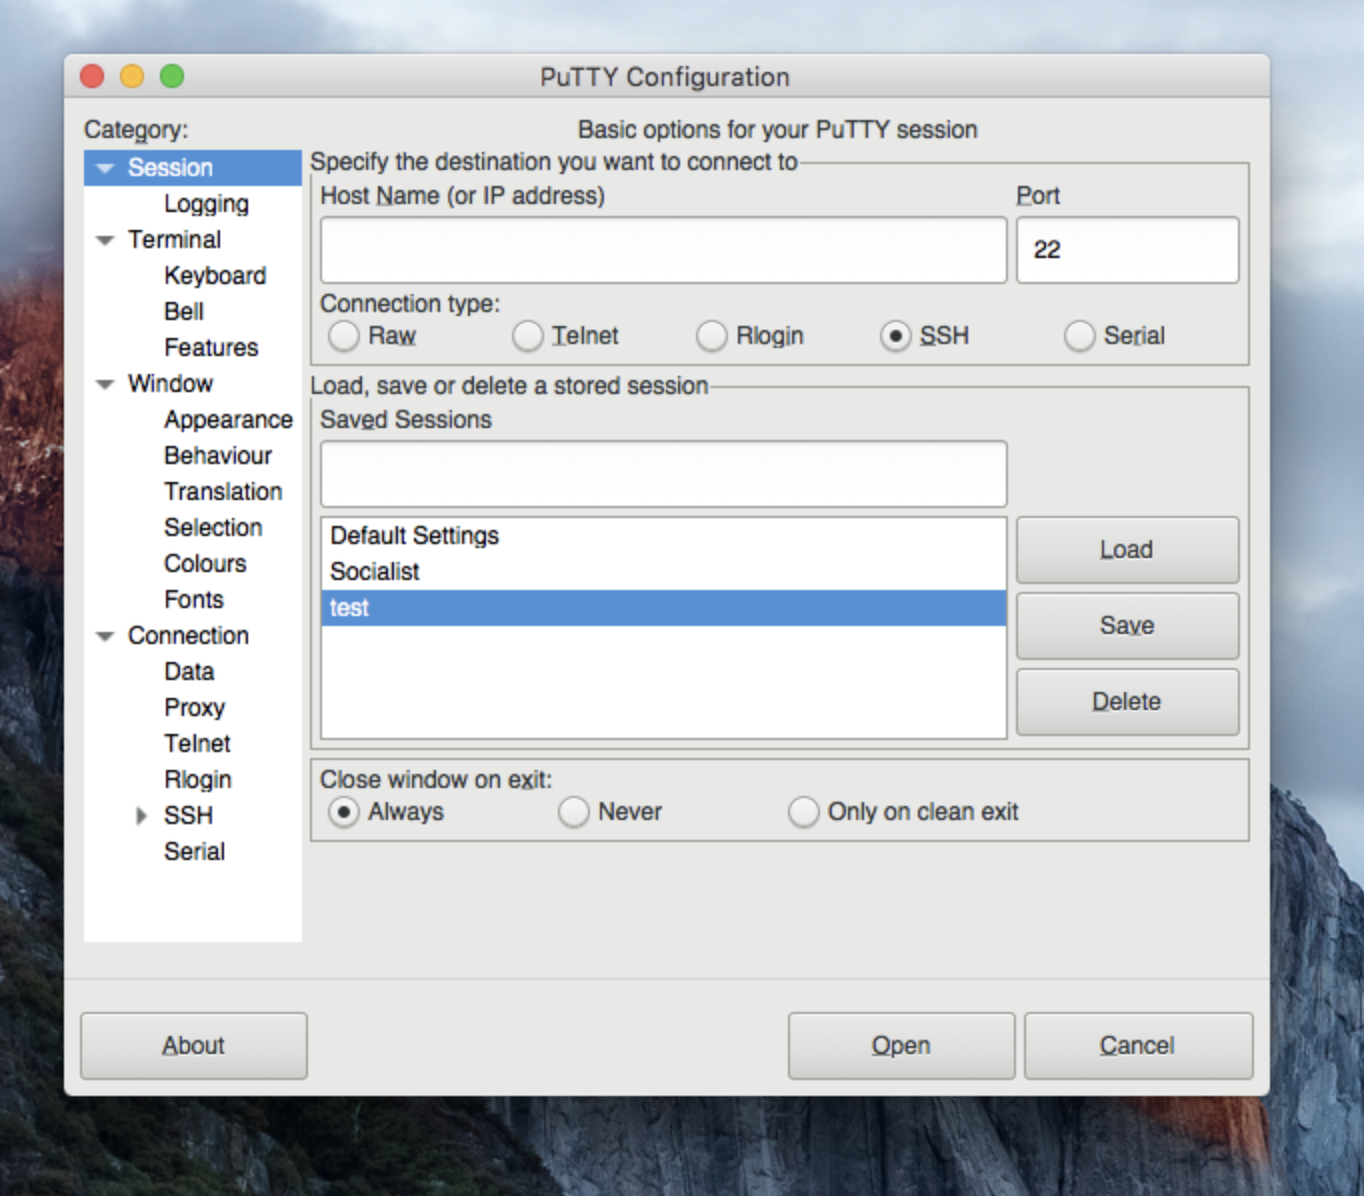
- PuTTY (via Wine)
Each client has its own set of features and advantages, so choose the one that best suits your needs.
Connecting to Remote IoT Devices
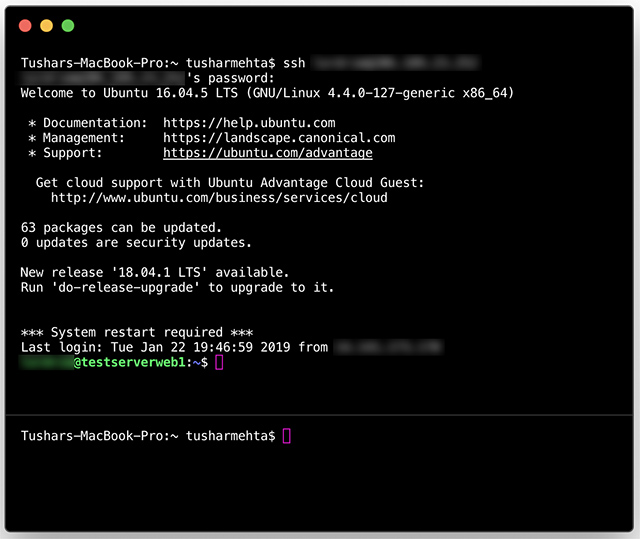
Once SSH is set up on your Mac, you can establish a connection to remote IoT devices. To do this, follow these steps:
- Open Terminal on your Mac.
- Type the following command, replacing "username" and "ip_address" with the appropriate values:
ssh username@ip_address
Upon successful authentication, you will gain access to the remote IoT device and can start executing commands. It's important to ensure that the device is properly configured to accept SSH connections.
Configuring SSH Settings
Customizing SSH Configuration
SSH allows you to customize various settings to optimize your connection. You can modify the SSH configuration file located at ~/.ssh/config to include specific parameters for each remote device. Some common configurations include:
- Specifying a custom port for SSH connections
- Setting up key-based authentication for enhanced security
- Defining aliases for easier access
By tailoring these settings, you can streamline your SSH workflow and improve efficiency.
Using SSH Keys
Instead of relying on passwords, you can use SSH keys for authentication. This method offers several advantages, including increased security and convenience. To generate an SSH key pair, use the following command:
ssh-keygen -t rsa -b 4096
After generating the keys, copy the public key to the remote IoT device using the ssh-copy-id command. This will enable key-based authentication for future connections.
Securing Your SSH Connection
While SSH provides a secure connection by default, there are additional measures you can take to enhance its security. Consider implementing the following best practices:
- Disable password authentication and rely solely on SSH keys
- Change the default SSH port to a non-standard value
- Use a firewall to restrict access to the SSH port
- Regularly update your system and software to patch vulnerabilities
By following these security practices, you can significantly reduce the risk of unauthorized access to your remote IoT devices.
Troubleshooting Common Issues
Despite its reliability, SSH connections can sometimes encounter issues. Here are some common problems and their solutions:
- Connection Timeout: Ensure that the remote device is reachable and the SSH service is running.
- Authentication Failure: Verify that the username and password are correct, or check the SSH key permissions.
- Permission Denied: Confirm that the necessary permissions are set for the SSH configuration files.
If you continue to experience issues, consult the SSH logs for more detailed information.
Alternative SSH Clients
Exploring Third-Party Options
In addition to the built-in Terminal, there are several third-party SSH clients available for Mac users. These clients often provide advanced features and a more user-friendly interface. Some popular alternatives include:
- Termius: A modern SSH client with a clean design and cross-platform support.
- SecureCRT: A feature-rich SSH client suitable for professional use.
- Bitvise: A powerful SSH client with support for tunneling and file transfers.
Experiment with different clients to find the one that aligns with your workflow and preferences.
Advanced SSH Features
SSH Tunneling
SSH tunneling allows you to securely transfer data between systems by creating an encrypted channel. This feature is particularly useful for accessing services behind firewalls or bypassing network restrictions. To create an SSH tunnel, use the following command:
ssh -L local_port:destination_host:destination_port username@ssh_server
This command forwards traffic from the specified local port to the destination host and port via the SSH server.
SSH Port Forwarding
SSH port forwarding enables you to redirect network traffic from one port to another. This can be useful for accessing services running on remote devices without exposing them directly to the internet. To set up port forwarding, use the following command:
ssh -L source_port:localhost:destination_port username@remote_host
This command forwards traffic from the source port on your local machine to the destination port on the remote host.
Conclusion and Next Steps
Using SSH for remote IoT management on your Mac is a powerful and secure way to interact with your devices. By following the steps outlined in this guide, you can set up SSH, connect to remote devices, and configure advanced features to enhance your workflow. Remember to prioritize security by implementing best practices and regularly updating your systems.
We encourage you to share your experience with SSH in the comments below. Have you encountered any challenges or discovered innovative ways to use SSH for IoT projects? Let us know! Additionally, explore our other articles for more tips and tutorials on maximizing your Mac's potential.